Terminals
After a successful login Terminals view opens.
To access the list of all terminals from another view, click Terminals in the main menu.
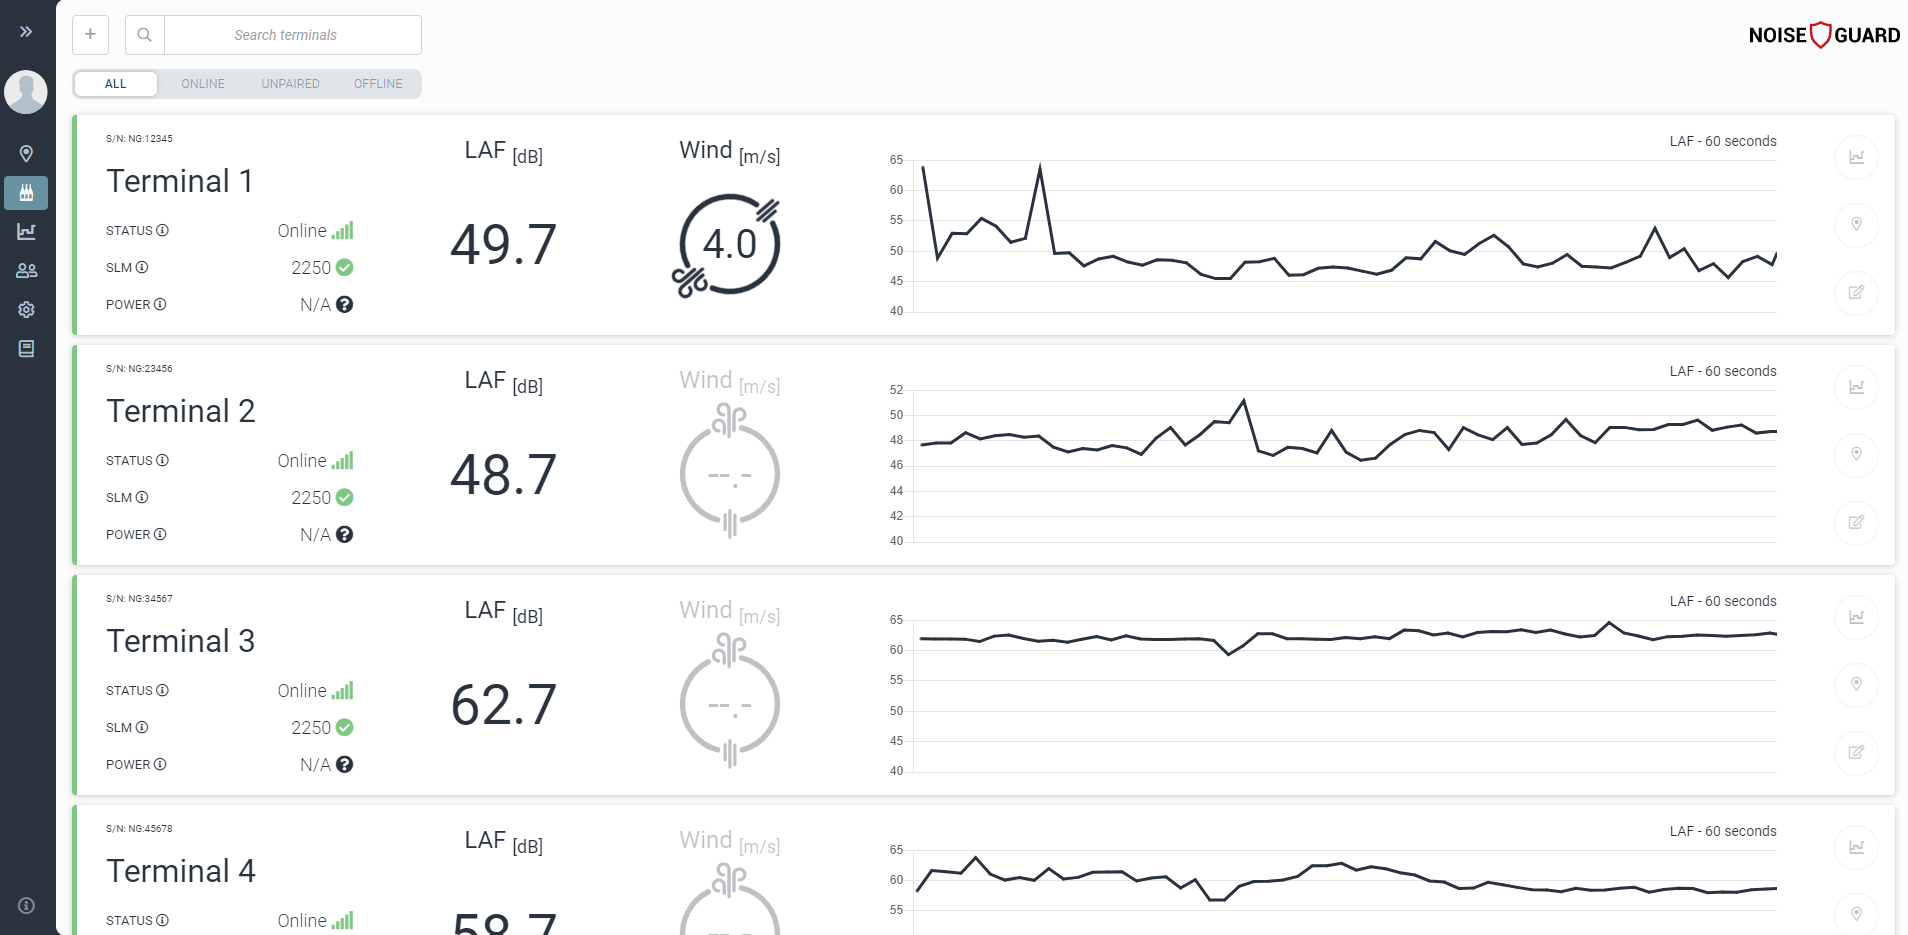
On top of the list there is a button for adding a new terminal, search and filter. The filter works in the same way as in Map. In Search terminals you can enter a terminal’s name or serial number or just a part of it and the list will be filtered accordingly.
On the list of terminals each terminal is represented by a rectangle. For each terminal you can see the same data as in Map view, but here you can see it for multiple terminals simultaneously.
There are some additional information on the left:
STATUS can be either Online, Unpaired or Offline. If you hover your mouse pointer over the information icon, Queue counter is shown. It shows number of measurements and number of recordings that are waiting to be uploaded.
By hovering the mouse cursor over STATUS, status of terminal’s storage is shown. Number of measurements and number of recordings on the terminal. If the number is 0, it means all the measurements/recordings have been uploaded to the server and are not stored on the terminal any more. Total displays the total storage space in GB, Free displays the available storage space in GB and Used shows the percentage of used storage.
SLM shows the status of sound level meter. If you hover your mouse pointer over the information icon, additional information is shown. You can see SLM’s and microphone’s type and serial number.
POWER shows noise guard’s power status: Plugged in, On battery or Charging. If you hover your mouse pointer over the information icon, three options for RESTART are shown. NG (soft) restarts Noise Guard software. It is faster than NG (hard). NG (hard) restarts Noise Guard hardware. SLM restarts the sound level meter. If you want to restart the complete Noise Guard system, restart SLM first and then click NG (hard).
On the right there are three icons:
takes you to Data viewer
takes you to Map
opens the Edit terminal form
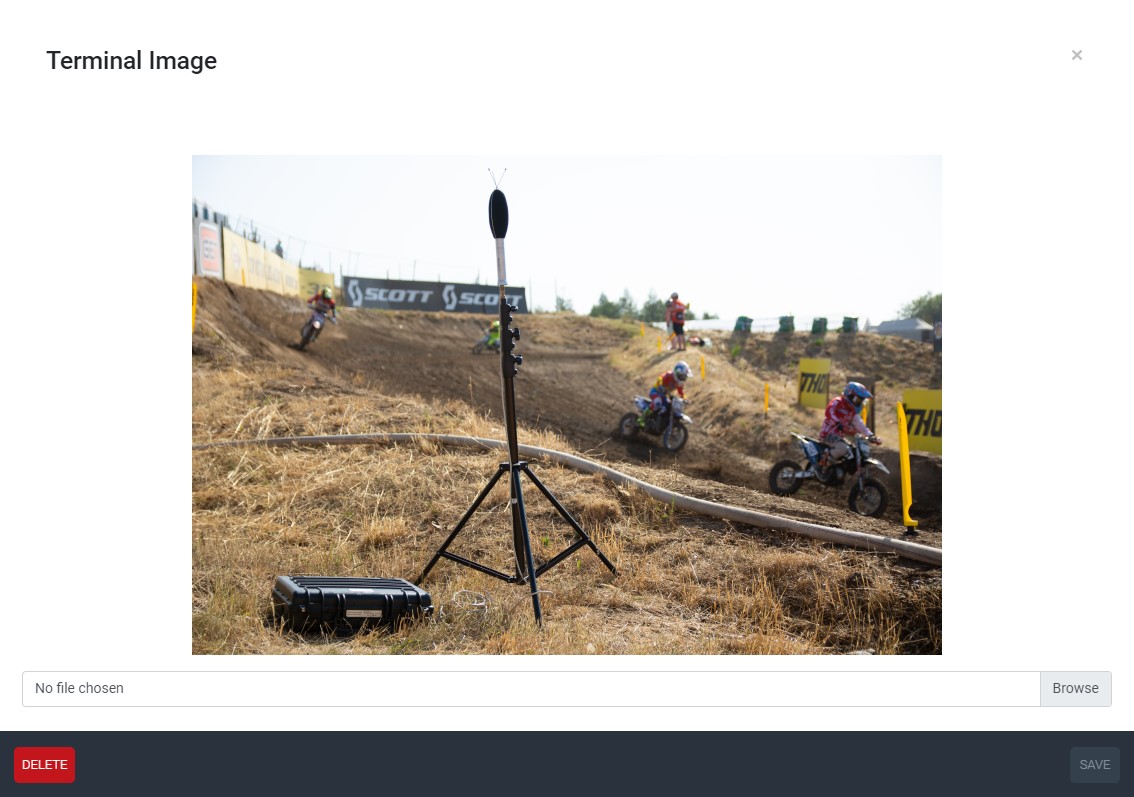
If you click on terminal name you can upload your desired terminal image, which will also be displayed on Map view with all other information when terminal is selected.
Edit terminal
To open the Edit terminal form click the in Terminals view.
General

Here you can enter Display Name, Serial Number and Description. You can also set the terminal’s location on a map.
Display Name is a terminal’s name. It is used to identify the terminal in the Noise Guard web application. It is also used in reports.
Serial Number – enter terminal’s serial number located on the suitcase.
Description is optional.
LAT and LNG: latitude and longitude are entered automatically when you select the terminal’s location on a map. It can also be entered manually.
To edit the terminal’s other preferences click the .
To delete the terminal click DELETE.
To close the Edit Terminal window and discard changes click in the upper right corner.
To close the Edit Terminal window and save changes click the multiple times to navigate to the last window and click SAVE.
Sound
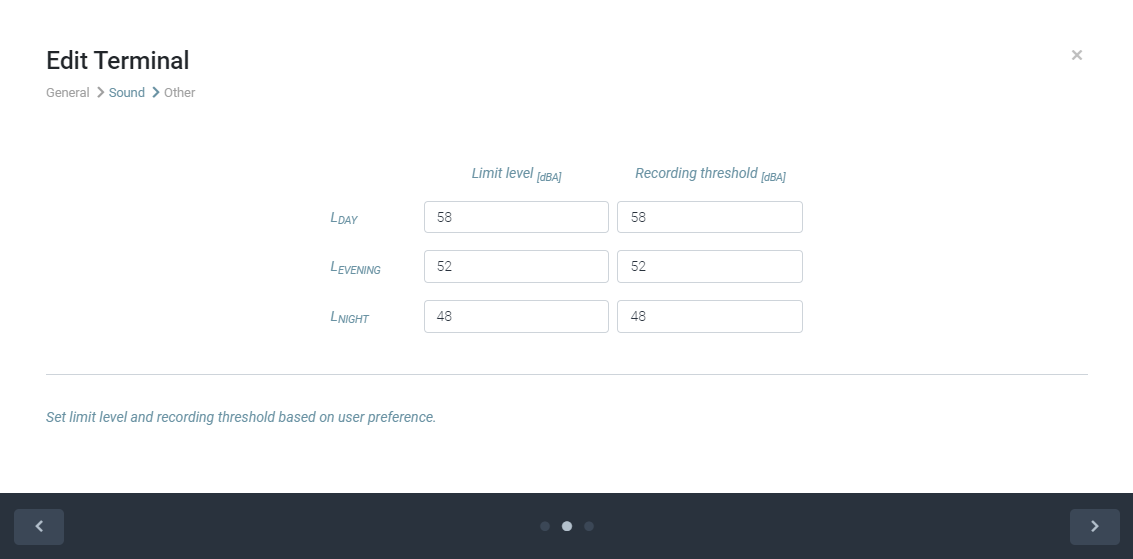
Limit level [dBA]: set limit values in accordance with local legislation.
Recording Threshold [dBA]: If LAEQ for a given minute exceeds this, an audio recording will be saved in addition to other data. You can listen to recordings and download them in Data Viewer.
Three different values can be set for different times of day:
- LDAY
- LEVENING
- LNIGHT
Click the to return to General.
To edit the terminal’s other preferences click the .
Click in the upper right corner to close the Edit Terminal window and discard changes.
Notification 1
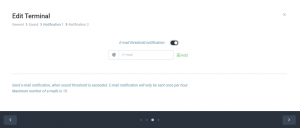
Here you can enable E-mail threshold notification. You can enter multiple e-mail addresses that the notification will be sent to. (Maximum number of e-mails is 10.) To add an e-mail address click + Add. To delete an e-mail address click the trash can icon next to it.
Sends e-mail notification, when sound threshold is exceeded. E-mail notification will only be sent once per hour.
To edit the terminal’s other preferences click the .
Click in the upper right corner to close the Edit Terminal window and discard changes.
Click the to return to Sound.
Notification 2
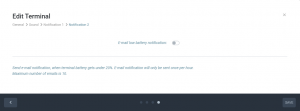
Here you can enable E-mail low battery notification. You can enter multiple e-mail addresses that the notification will be sent to. (Maximum number of e-mails is 10.) To add an e-mail address click + Add. To delete an e-mail address click the trash can icon next to it.
Sends e-mail notification, when terminal battery gets under 20%. E-mail notification will only be sent once per hour.
To edit the terminal’s other preferences click the .
Click in the upper right corner to close the Edit Terminal window and discard changes.
Click the to return to Notification 1.
Notification 3
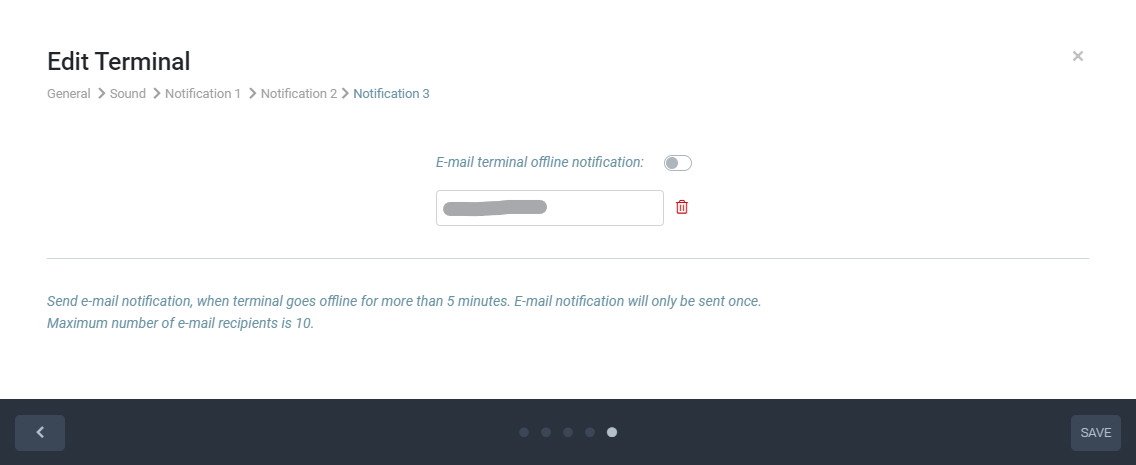
Here you can enable E-mail terminal offline notification. You can enter multiple e-mail addresses that the notification will be sent to. (Maximum number of e-mails is 10.) To add an e-mail address click + Add. To delete an e-mail address click the trash can icon next to it.
Sends e-mail notification, when terminal goes offline for more than 5 minutes. E-mail notification will only be sent once per hour.
Click SAVE to save changes. Edit Terminal window closes.
Click in the upper right corner to close the Edit Terminal window and discard changes.
Click the to return to Notification 2.